If you’re curious about what heat pump installation entails, this step-by-step guide will walk you through the process.
What Is a Heat Pump?
A heat pump is a device that transfers heat from one place to another, providing both heating and cooling for your home. During the winter, it extracts heat from the outdoors and brings it inside to warm your home. In the summer, it reverses the process, removing heat from your home to keep it cool. This dual functionality makes heat pumps an excellent choice for homeowners looking to improve energy efficiency and reduce utility costs.
There are different types of heat pumps, including air-source, water-source, and geothermal systems. Air-source heat pumps are the most common and are ideal for most homes. They are known for their efficiency and ability to reduce energy consumption compared to traditional heating and cooling systems.
Things to Consider Before Installing a Heat Pump
Before diving into heat pump installation, there are a few factors to consider to ensure you choose the right system for your home:
- Home Insulation and Efficiency: Older homes with poor insulation or air leaks may not be ideal for a heat pump. Improving your home’s insulation and sealing air leaks can maximize the efficiency of your new system.
- Size of Your Home: Larger homes require larger heat pumps to ensure proper heating and cooling. A system that’s too small will struggle to maintain comfortable temperatures, while one that’s too large may cycle on and off too frequently, reducing efficiency. Consulting a professional can help you determine the right size for your home.
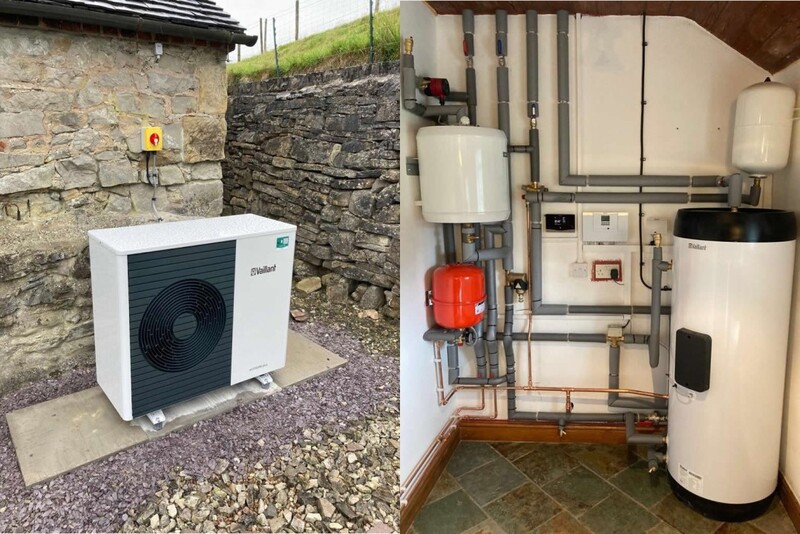
- Space Requirements: Heat pumps consist of both indoor and outdoor units. Ensure you have adequate space for the outdoor unit and that your property can accommodate the installation process.
Preparing for Heat Pump Installation
Proper preparation is key to a smooth heat pump installation. Here’s what you need to do before the installation begins:
- Check HOA Regulations: If you live in a community with a homeowners association (HOA), you may need approval before installing a heat pump.
- Clear the Installation Area: Make sure the space for the outdoor unit is level and free of debris. A composite pad is often installed to provide a stable base for the unit.
- Plan for Disruptions: Heat pump installation can take several hours, and your home will be without heating or cooling during the process. Plan accordingly to minimize inconvenience.
Removing the Old Heat Pump
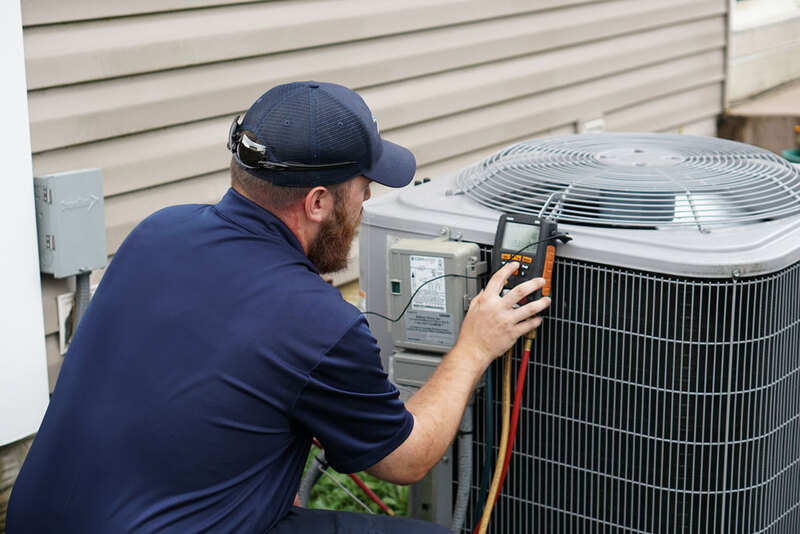
If you’re replacing an existing heat pump, the old unit must be safely disconnected and removed. This process involves handling refrigerants, which are hazardous and must be disposed of according to Environmental Protection Agency (EPA) regulations. A professional installer will use specialized equipment to capture and remove the refrigerant safely. Once the old system is disconnected, the installer will prepare the area for the new heat pump.
Installing the New Heat Pump System
The installation process involves several steps to ensure your new heat pump operates efficiently and safely:
- Indoor Evaporator Coil Installation: The indoor evaporator coil is a critical component that connects to the refrigerant lines. There are two types of coils: cased and uncased. Cased coils are often recommended because they come pre-protected, making installation easier.
- Line Sets, Wiring, and Valves: The installer will replace the existing refrigerant lines with new ones, ensuring a leak-free connection. The thermostat wiring will also be inspected and upgraded if necessary. A valve that allows the system to switch between heating and cooling modes may be checked or replaced.
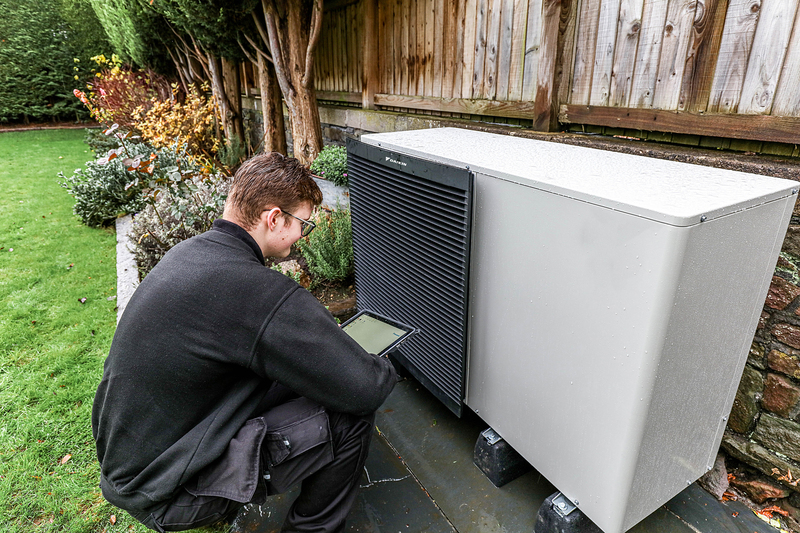
- Outdoor Unit Installation: The outdoor unit is the heart of the heat pump system. It’s typically placed on a composite pad to protect it from snow, ice, and debris. The unit is then connected to the indoor system and your home’s electrical supply.
How Long Does Heat Pump Installation Take?
On average, heat pump installation takes about eight hours. However, factors like weather conditions, ductwork modifications, or electrical issues can extend the timeline. It’s important to plan for potential delays and ensure your home is prepared for the installation process.
Final Thoughts on Heat Pump Installation
Heat pump installation is a worthwhile investment for homeowners seeking an energy-efficient way to heat and cool their homes. By understanding the process and working with a professional, you can ensure a smooth installation and enjoy the benefits of a more comfortable and cost-effective home. Whether you’re replacing an old system or installing a heat pump for the first time, this guide provides the information you need to make informed decisions and achieve optimal results.